Showing posts with label tutorials. Show all posts

Sunday, 21 May 2017

Bath Bombs

I've been promising the children we would make bath bombs, so yesterday we got round to making some, we use soap moulds to put the mixture in as I find them easy to use and the bath bombs pop out really easily. They are simple to make mix 2 parts bicarbonate of soda to 1 part citric acid, then add your choice of colour and scent, we made them unscented as some of the children have sensitive skin. Then add a few drops of water and mix, you don't want the mixture to be too wet, think just damp sand, so when you squash some together it just holds it shape. we bought the colours from Bath-Bomb.Com


Press down firmly into your moulds and then pop them out onto a flat surface and leave to dry.


Putting out the washing this morning, I could hear what sounded like a lot of rustling, going to look expecting to fine a couple of birds, instead found lots of bees on our raspberries busy at work. I can't remember the last time I saw so many bees in our garden, it's a wonderful sight.


I am working through my selection of cookbooks, I love to try new recipes but realised I had collected up rather a lot of cookbooks and some of them I had never used. So I have been going through them and writing down a list of recipes that I like the sound of, so it's easy to look at the list of each book and see what we might try next. Found it was a good way of finding the books where there is only one or two recipes that I liked the sound of, so easy to try, if they didn't work then the book was passed on, or where there where lots of ingredients we don't normally use, don't mind buying the odd new one but not lots as they tend to go to waste, so now down to one shelf of cookbooks. Anyway this week we tried out Hugh Fearnley whittingstall's Sticky Jamaican Ginger Cake  taken from his Everyday cookbook, it is very yummy!

Finished L's purple coat, fully lined with some lovely soft fleece, when she spins round the skirt flares out, she loves it. I know winter is a long way of but have a feeling I could be facing more surgery on my hip so wanted to make sure it was ready and hopefully enough growing room to get two years wear out of it, like the last one I made. Now time to think of some summer dress sewing.


Tuesday, 8 November 2016

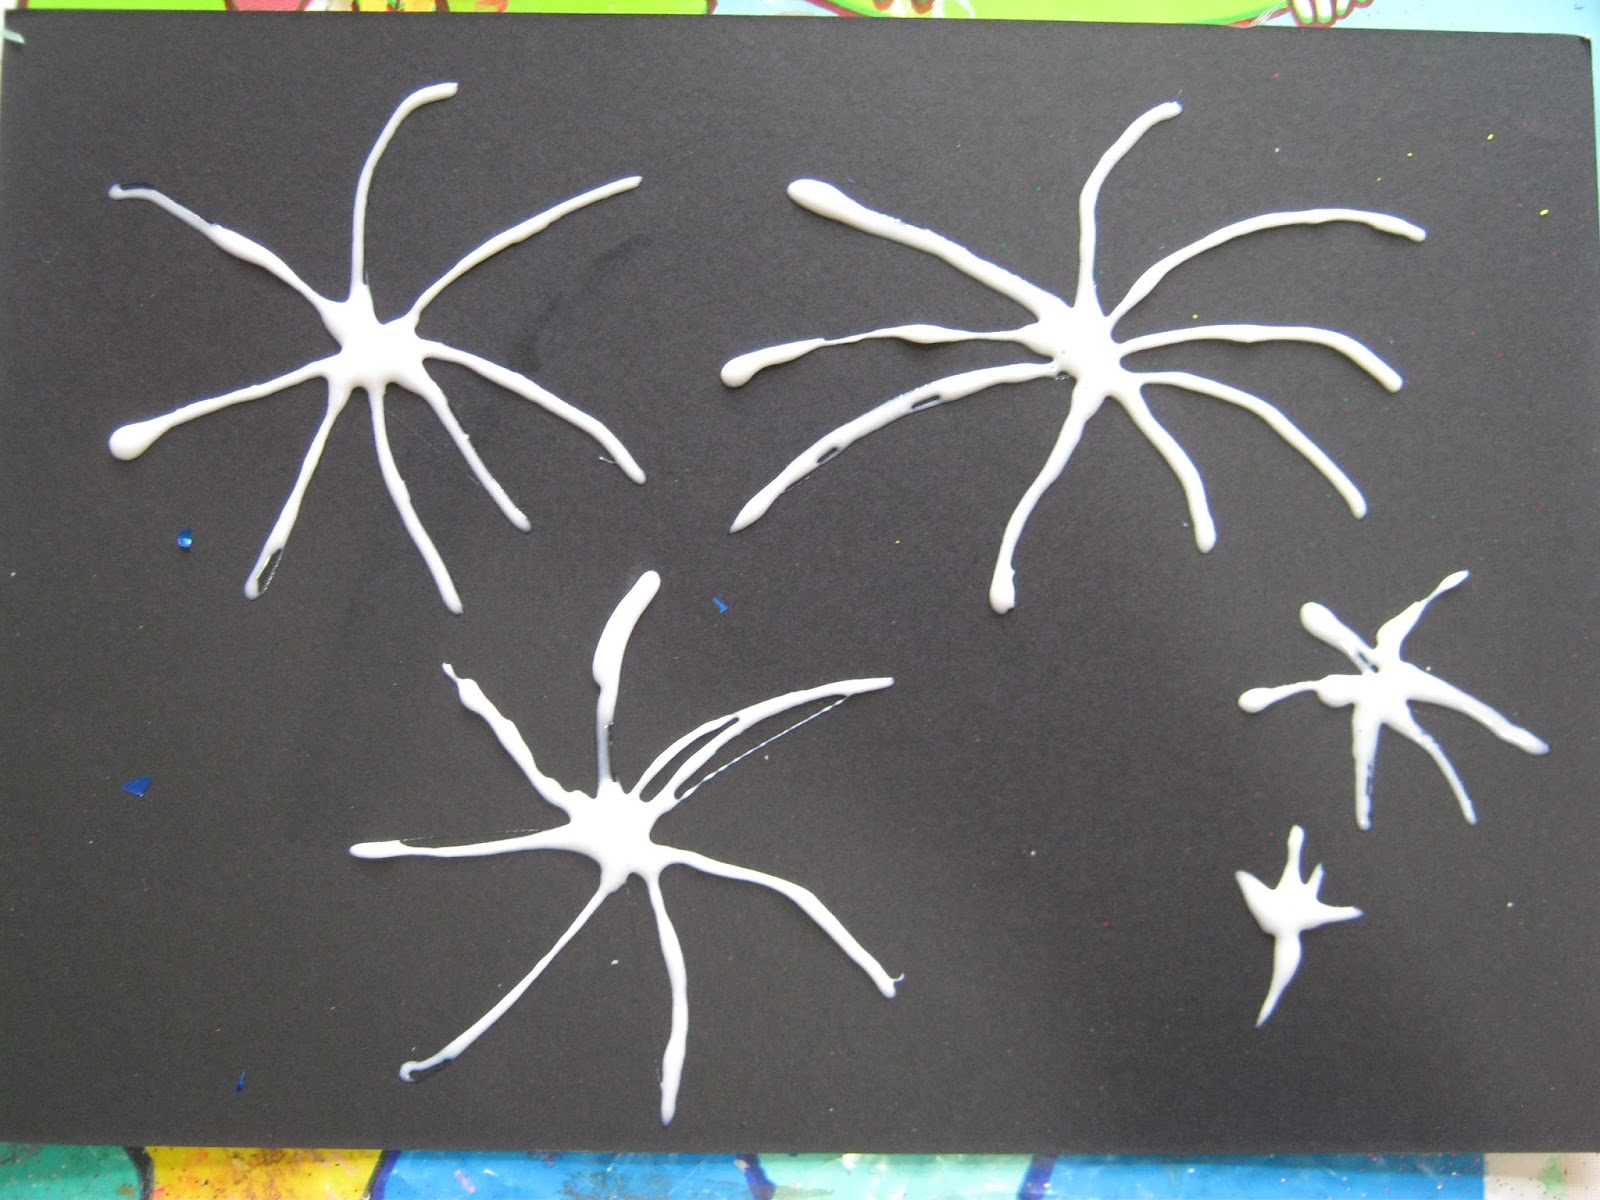
Fireworks

I would say all my children love the fireworks but there are a couple who love the patterns in the sky but hate the noise but what they all do love is creating firework pictures. We spent a fair bit of one day making firework pictures and talking about them, the glitter season has started and we will be finding glitter probably until the middle if not the end of January. We have experimented with glue and salt for one of firework pictures, they were fascinated with how the paint moved through the salt pictures.

Our first pictures were glue and lot and lots of glitter.


 For the second lot I wanted to try something different that I had seen, involving glue, salt and water colours, have been told it works as well with food colouring but have yet to try it.

So step one is use glue to create you firework scene.


Sprinkle wet glue with salt and then shake of spare salt.


Then dab the salt/glue mixture with the water colour paint and watch the paint spread out.


The finished work.


I asked if they wanted to have a go painting with the remaining water colour paint, which they did, one loved just seeing the paint merge together and then mixing it to make lots of different shades of brown.


Bonfire pictures.


Sunday, 17 July 2016

Boats

Last week we made some paper boats and I meant to sort out this post then but was sidetracked organising M's birthday and trying to finish of a dress and leggings for L for her birthday this week. This is a really good you tube tutorial for what I always think of as the traditional paper boat and below I have put together a step by step guide for a more complicated one.


You need a sheet of origami paper, you can get some water proof origami paper, which is brilliant. Fold a sheet of paper in half


open the sheet out and fold the edges into the middle as below.


Fold down each corner as below,


then fold the points down again at both ends, like you do when you make paper aeroplanes.


Now bring the centre point to the middle fold on both sides.


Now for the very tricky part, open up the centre folds, as below and then gently turn the boat inside out, take your time as it is easy to tear the paper.


It should now look like the boat below.
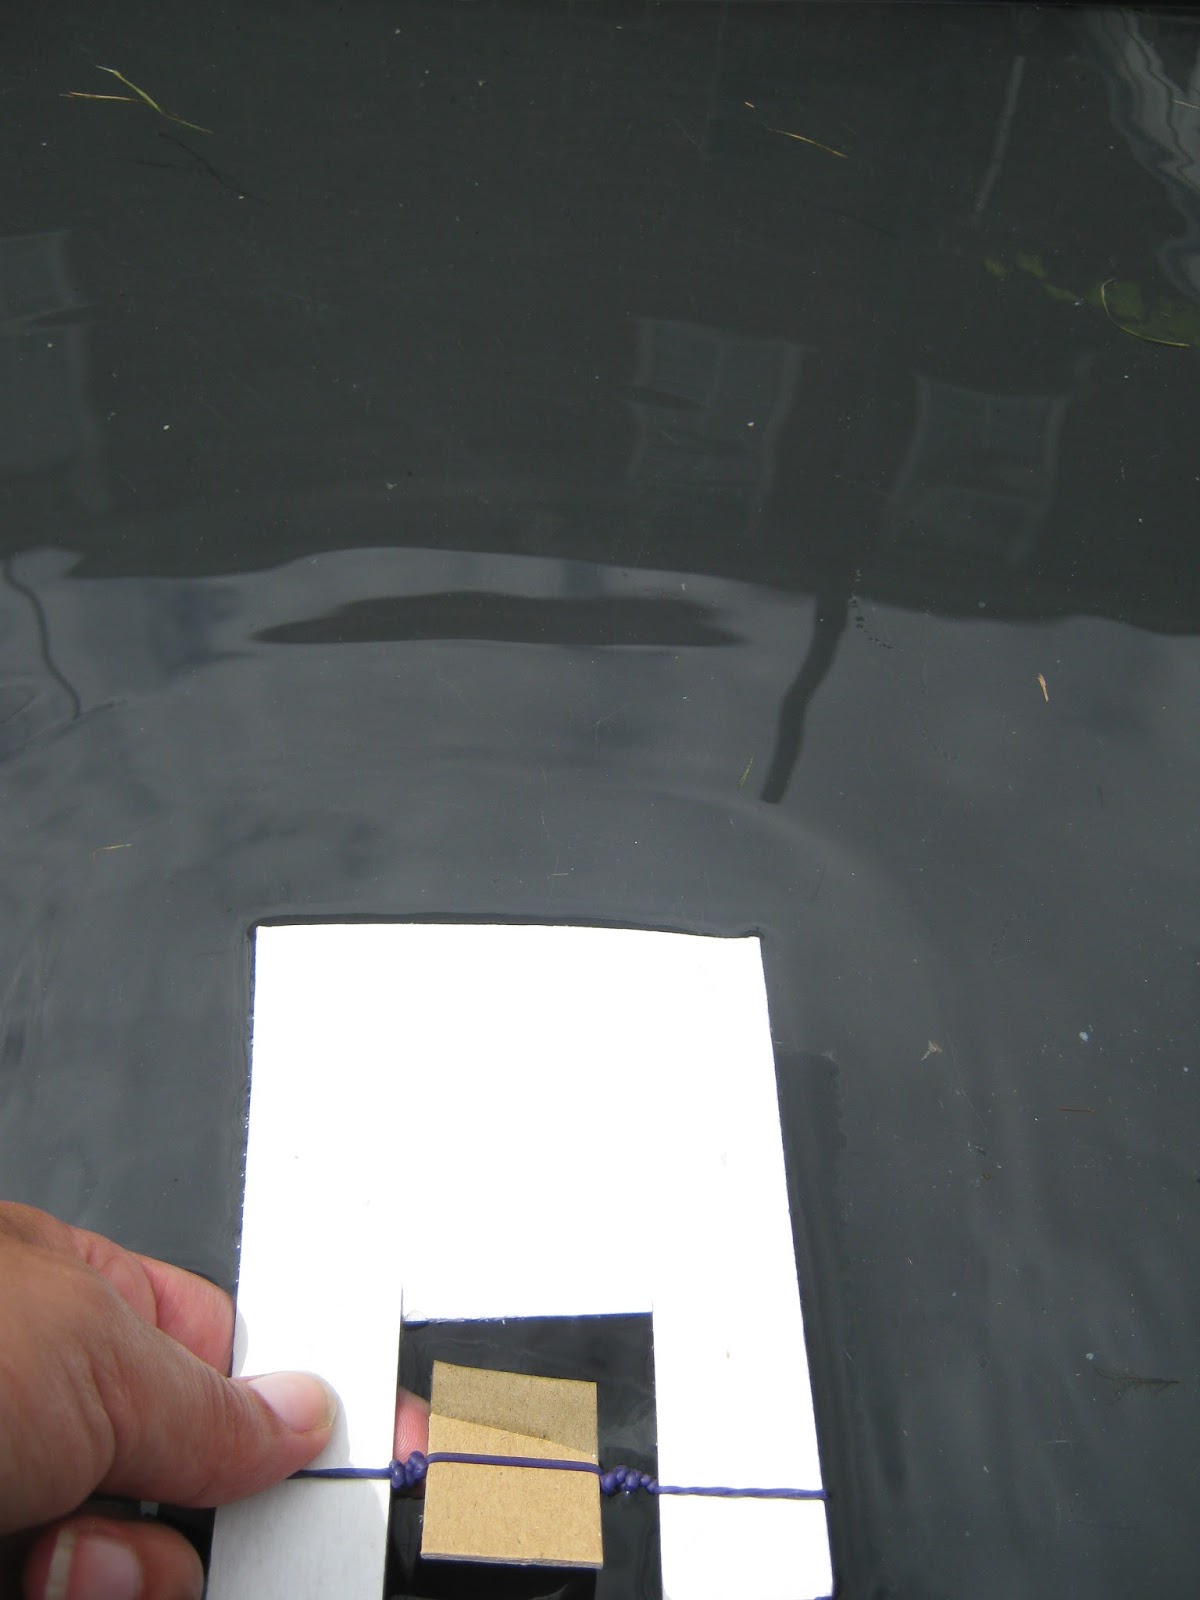

 We made some boats, a duck and some simple paddle boats.


Or paddle boat, which worked very well when you wound the paddle the right well, if you don't it stays in one place hitting the side of the tray, much to the amusement of the children. We just used some thickish card, cut into rectangles to make the paddle boats, then cut a small rectangle out of one side, trim down the piece of card that you cut out to make the paddles.


 We spent time sailing the boats and sometimes pretending to be the wind and blowing the boats in different directions.


Seeing what would happen if you filled the boat with water


and then finding some people to have a boat ride in the bigger boats.


Sunday, 6 December 2015

Window Stars

I love making window stars and was really pleased with  a couple of the new designs I tried out, I've put together a tutorial for one of them.


To make this window star, you need 8 rectangles, I use one sheet of kite paper which is 16cm by 16cm cut into 8 rectangles.


Fold each rectangle into half.


Then fold each edge into the centre and open back out.


Then fold in the outer edge into the nearest crease on both edges, repeat for each rectangle.


Fold top edge in to the centre crease to create a triangle, I use a tiny dab of glue to hold them in place.


Fold the same the same edges in again to the centre crease, so it looks like the picture below.


Fold the bottom edges in to meet the centre crease, repeat for each rectangle.


To put the star together by lining up the edge of the bottom triangular with the centre crease of second pieces and glue in place


repeat until you have completed the star.


Just need a bright winters morning to show them of better, rather than the dull grey ones we have been having.


L enjoyed making some simple ones too, she is getting really good with the scissors and managed to do all the cutting herself, just needed a bit of help with the folding as it's not easy folding them exactly the right way so they all fit together at the end. L's star is made using two sheets of kite paper, each sheet cut into four squares.


Then fold each square diagonally, then fold the outside edges into meet the centre crease, to create a diamond, repeat with each square.


Match bottom edge of diamond with centre crease of another diamond and glue in place, repeat until you have completed the star. Haven't got a photo of the finished star as she gave it to one of her friends for their window.