I love making window stars and was really pleased with a couple of the new designs I tried out, I've put together a tutorial for one of them.
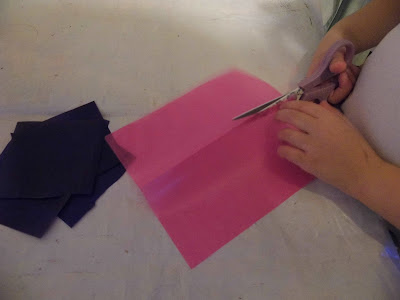
To make this window star, you need 8 rectangles, I use one sheet of kite paper which is 16cm by 16cm cut into 8 rectangles.
Fold each rectangle into half.
Then fold each edge into the centre and open back out.
Then fold in the outer edge into the nearest crease on both edges, repeat for each rectangle.
Fold top edge in to the centre crease to create a triangle, I use a tiny dab of glue to hold them in place.
Fold the same the same edges in again to the centre crease, so it looks like the picture below.
Fold the bottom edges in to meet the centre crease, repeat for each rectangle.
To put the star together by lining up the edge of the bottom triangular with the centre crease of second pieces and glue in place
repeat until you have completed the star.
Just need a bright winters morning to show them of better, rather than the dull grey ones we have been having.
L enjoyed making some simple ones too, she is getting really good with the scissors and managed to do all the cutting herself, just needed a bit of help with the folding as it's not easy folding them exactly the right way so they all fit together at the end. L's star is made using two sheets of kite paper, each sheet cut into four squares.
Then fold each square diagonally, then fold the outside edges into meet the centre crease, to create a diamond, repeat with each square.
Match bottom edge of diamond with centre crease of another diamond and glue in place, repeat until you have completed the star. Haven't got a photo of the finished star as she gave it to one of her friends for their window.


No comments:
Post a Comment