

open the sheet out and fold the edges into the middle as below.

Fold down each corner as below,

then fold the points down again at both ends, like you do when you make paper aeroplanes.

Now bring the centre point to the middle fold on both sides.

Now for the very tricky part, open up the centre folds, as below and then gently turn the boat inside out, take your time as it is easy to tear the paper.


It should now look like the boat below.

We made some boats, a duck and some simple paddle boats.

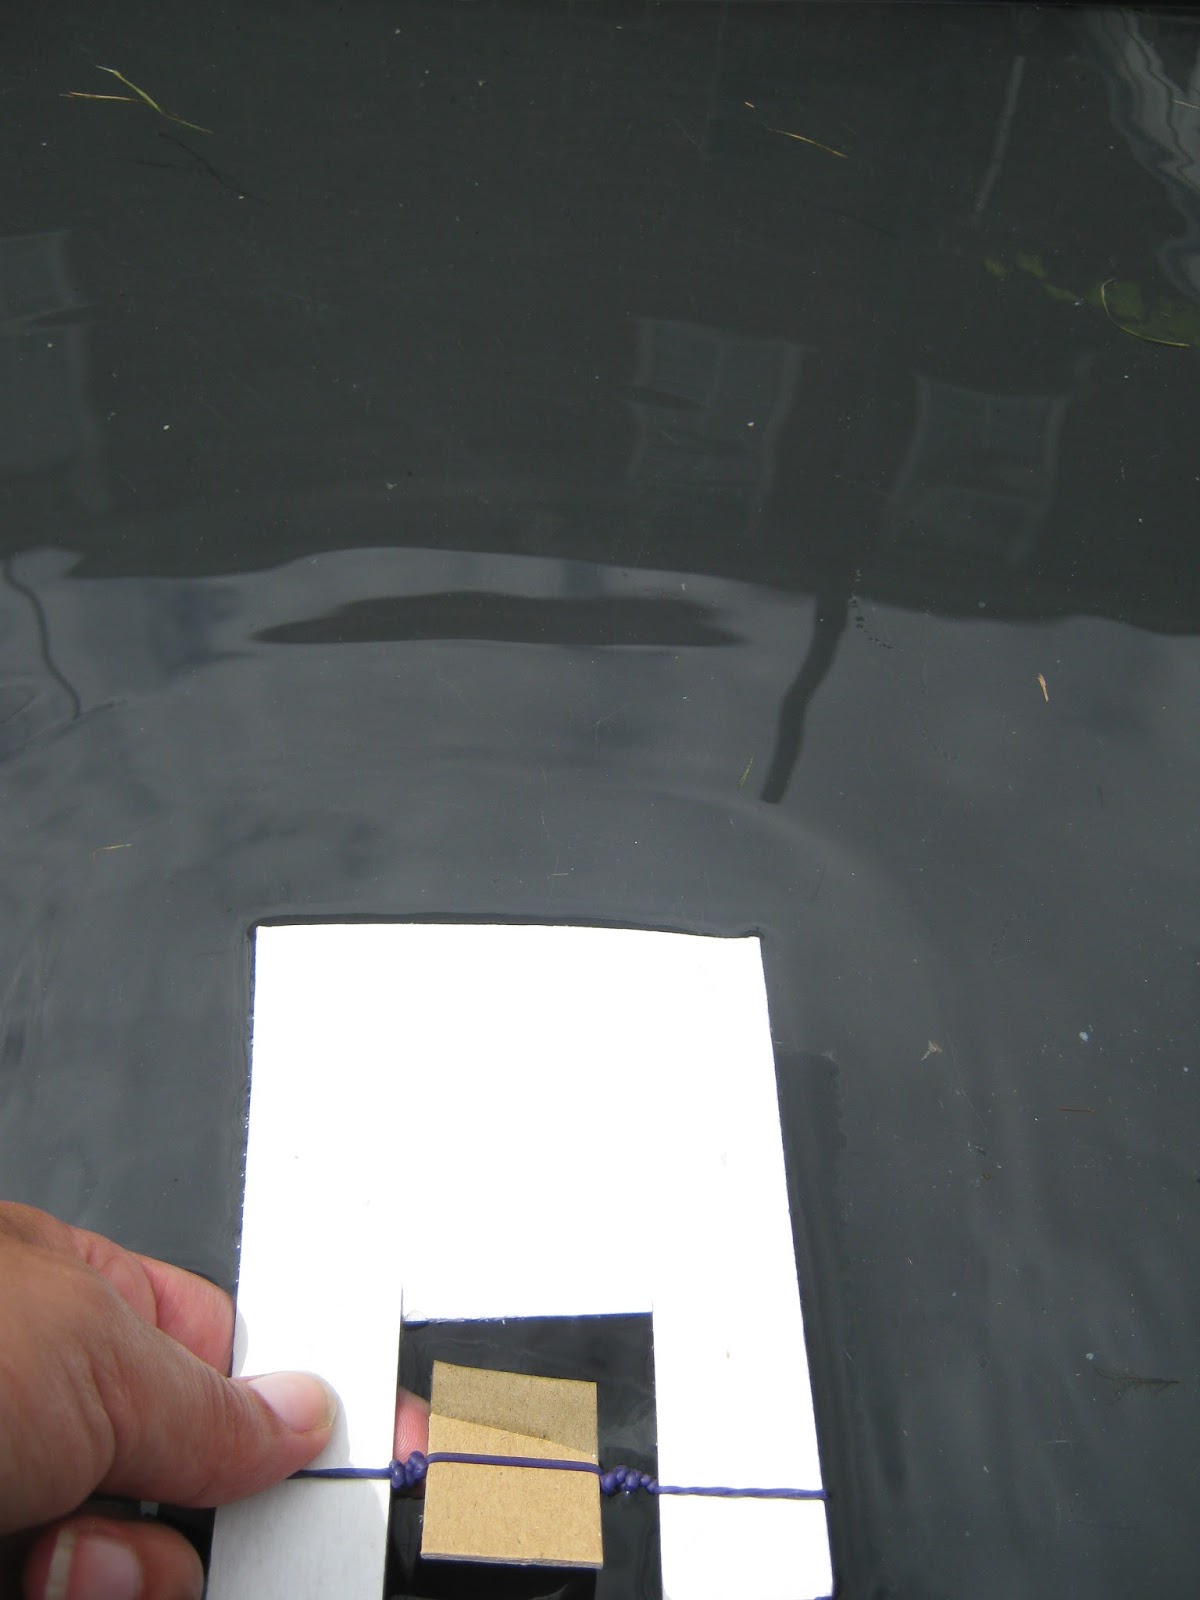
Or paddle boat, which worked very well when you wound the paddle the right well, if you don't it stays in one place hitting the side of the tray, much to the amusement of the children. We just used some thickish card, cut into rectangles to make the paddle boats, then cut a small rectangle out of one side, trim down the piece of card that you cut out to make the paddles.


Seeing what would happen if you filled the boat with water

and then finding some people to have a boat ride in the bigger boats.


No comments:
Post a Comment