Showing posts with label recipes for paint/crafts. Show all posts

Monday, 15 August 2016

Dinosaur Fossils

W have enjoyed making some dinosaur fossils using salt dough and some of our small toy dinosaurs. It's one way to explain how some fossils are formed, might make some casts with them later on, will see what they want to do.

Salt Dough Recipe
1 cup of salt
2 cups of plain flour
3/4 cup of water
Mix all the ingredients together and kneed well, you can add some food colouring at the same time as the water if you want some coloured dough. I added some chestnut brown to ours, not much but just enough to give a bit of colour. 

They each took a small ball of dough on squashed it down a bit.


Then they pressed their dinosaur into the dough


and then carefully removed it


to leave behind it's imprint.


We baked our dough in the oven at gas mark 2 for a few hours until it was dry.


They decided to paint them and chose lots of bright colours. They have asked if we could do it again but next time do it with biscuits so they could eat them.


Tuesday, 12 August 2014

Home Made Pavement Paint

We love art and craft activities and we love being outside so this is a brilliant combination of both things that we love doing. You need some cornflour, water and food colouring, I have a lovely selection of the paste food colouring, which are brilliant for this and lots of varied coloured play dough.

Mix 1 part cornflour to 1 part water, add more cornflour if it is too runny, add in the food colouring and go and paint.


 I have a very pretty patio know as you can tell.

Wednesday, 2 April 2014

Giant Bubbles

A childminding friend past this link over for homemade-giant-bubbles I'd seen recipes before but never tried them, after seeing her photos and how good the bubbles were, we had to give it go and they made fantastic bubbles. You have to give it go, you won't be disappointed.


I used the recipe from Happy Hooligans but increased the glycerine as we seemed to get better bubbles that way.
                       6 cups of water
                       1/2 cup washing up liquid (I used fairy, didn't think my eco non bubbling one would work)
                       1/2 cup corn flour
                       15ml baking powder
                       30ml glycerine

Saturday, 14 December 2013

Christmas Sensory Box

Over December I put together some different sensory boxes for the children to explore as well as having a session on different Christmas smells, we had some frankinsense essential oil, fresh pine, oranges, cloves, cinnamon, ginger, peppermint and vanilla. What smells remind you of Christmas?

We made some cloud dough and added lots of silver glitter and some tinsel, the older ones loved this, for some reason the younger ones (under 2s) were a bit more suspicious of it but once they had tentatively poked and prodded it they had fun.


Cloud dough recipe is 2 cups of plain flour mixed with 1/2 a cup of baby oil and mix well, it should be like damp sand, when you squeeze it together it will mould into a ball but easily crumble and not sticky to touch.

Had fun with loads of shaving foam and glitter, for a very pretty snowy time.

Then decided to add some clear water beads for a different texture, the children really loved this.


I also dyed some rice in lovely Christmas green and red colours and when dried added some Christmas sequins, the children enjoyed playing and making patterns in the rice. To get the best, deepest colour, we used a dye paste rather than the liquid food colouring. I added a little paste to about 30ml of water and then mixed it into 2 cups of rice, leave it to soak up the colour and then tip out an old cardboard box and leave until thoroughly dried.


Then a selection of different coloured tinsels, they had great fun pretending to be a Christmas tree.

Monday, 2 December 2013

Salt Dough Decorations

I had seen some salt dough decorations on The Imagination Tree blog and loved them so we had to give them a try, now I didn't have enough enough bicarb to make this recipe, so found another one using salt.

1 cup of salt
1/3 cup of water
1/2 cup of cornflour
1/4 cup very cold water.

Mix salt and the 1/3 cup of water in a saucepan over a low heat for about 5 minutes, stirring constantly.
Remove from the heat, add the cornflour and cold water and mix, it should look like mash potato! 
When cool enough to handle, knead, if sticky add more cornflour.
Leave to dry in an oven on a very low heat for a few hours.

We added glitter to make ours extra sparkly, the silver glitter worked very well but the red glitter just made them look a little odd!


Alternative white clay recipe using bicarbonate of soda
1 cup of bicarbonate of soda
1/2 cup of cornflour
3/4 cup of warm water
silver glitter

Mix the dry ingredients together in a saucepan, then stir through the warm water.
Mix over a medium heat until it starts to bubble and come away from the pan. When it has started to dry and resembles play dough consistency, take it of the heat.
When it is cool enough to handle, knead for a couple of minutes to make it pliable.


Sunday, 14 July 2013

Ice Chalks

At last we were finally been successful with our ice chalk recipe. It has been a bit of a trial and error, the first lot separated and we were left with a watery layer on top of the cornflour, second lot went lumpy, third lot too thick,  so on our fifth lot we got it just right :)


So to make these beautiful chalks, you need to boil some water first (you need hot, not boiling water as you'll get the wrong consistency).

In a jug add 7 heaped tea spoons of cornflour and blend with some cold water to a very thick paste.

Then make up to 200ml with the hot water and stir, you should have a lovely thick white mixture, that doesn't separate or goes like cornflour gloop.

Pour in an ice cube tray and mix in your food colouring.

Place in the freezer, when frozen, pop out of tray and have some fun. Please note for some reason unlike the ice paints and home made finger paints this will stain fingers.

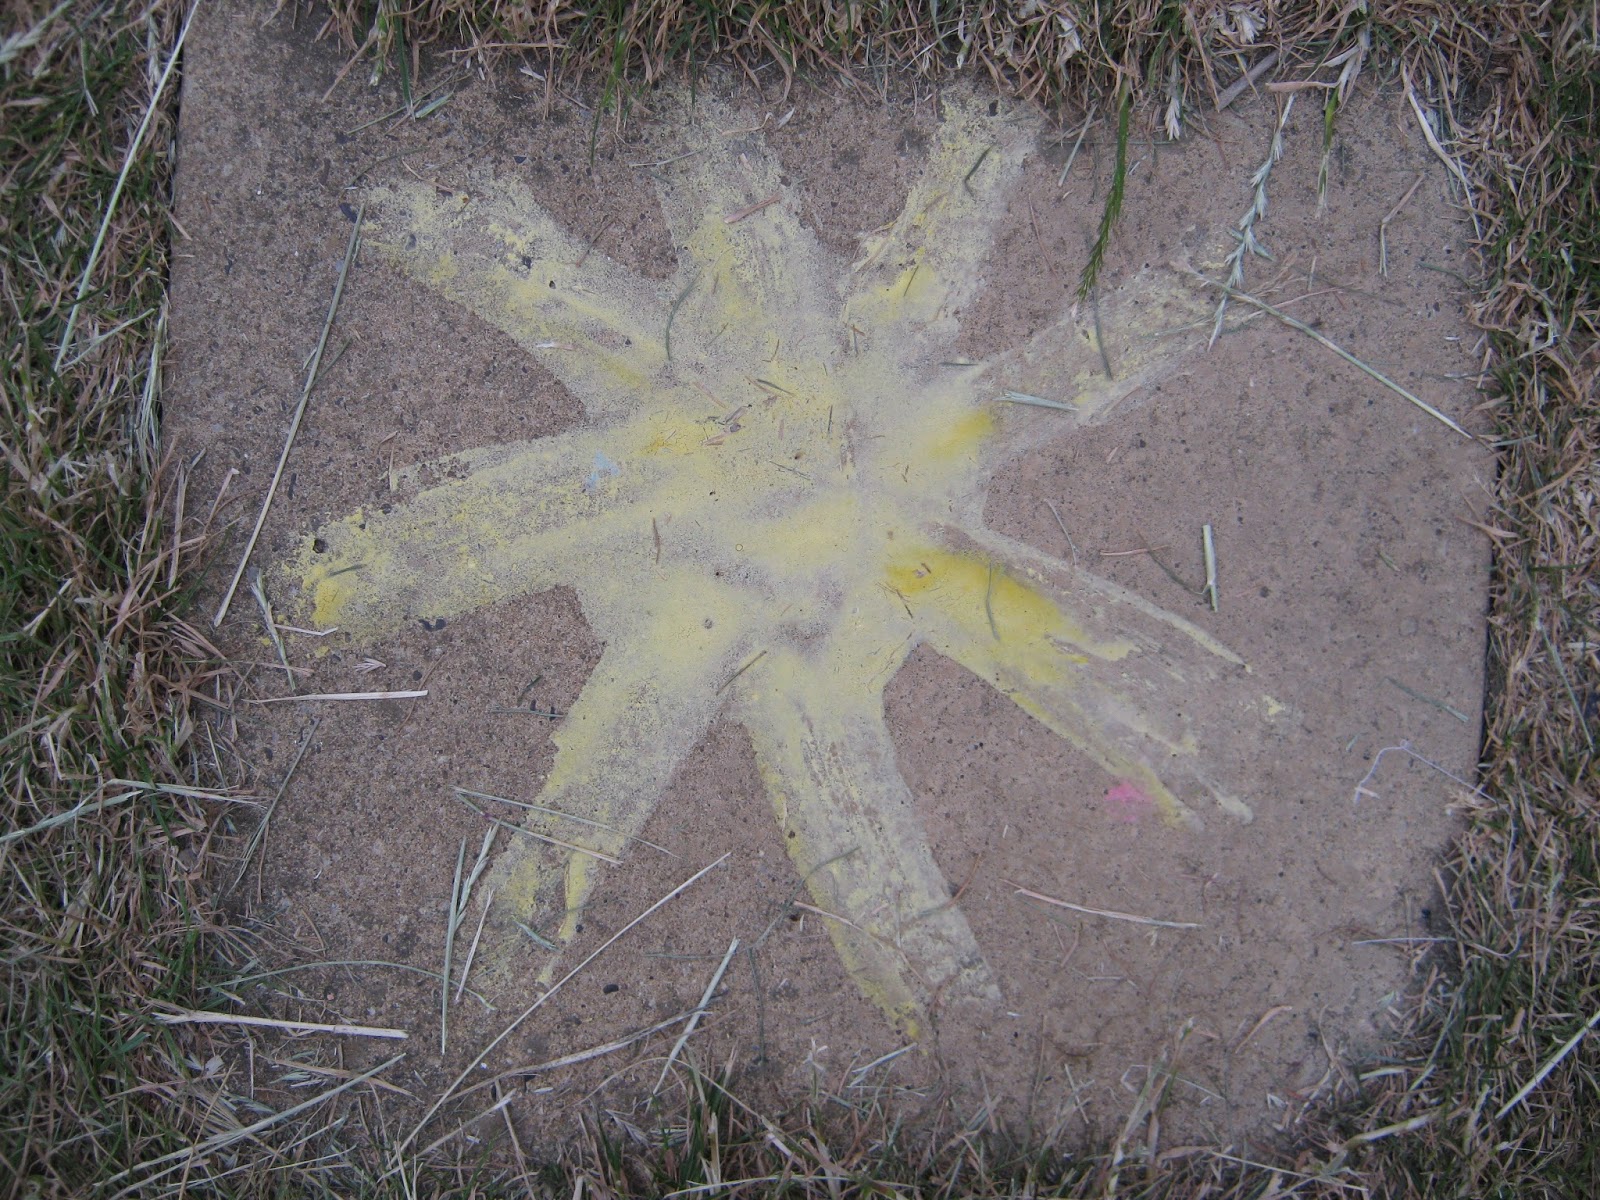
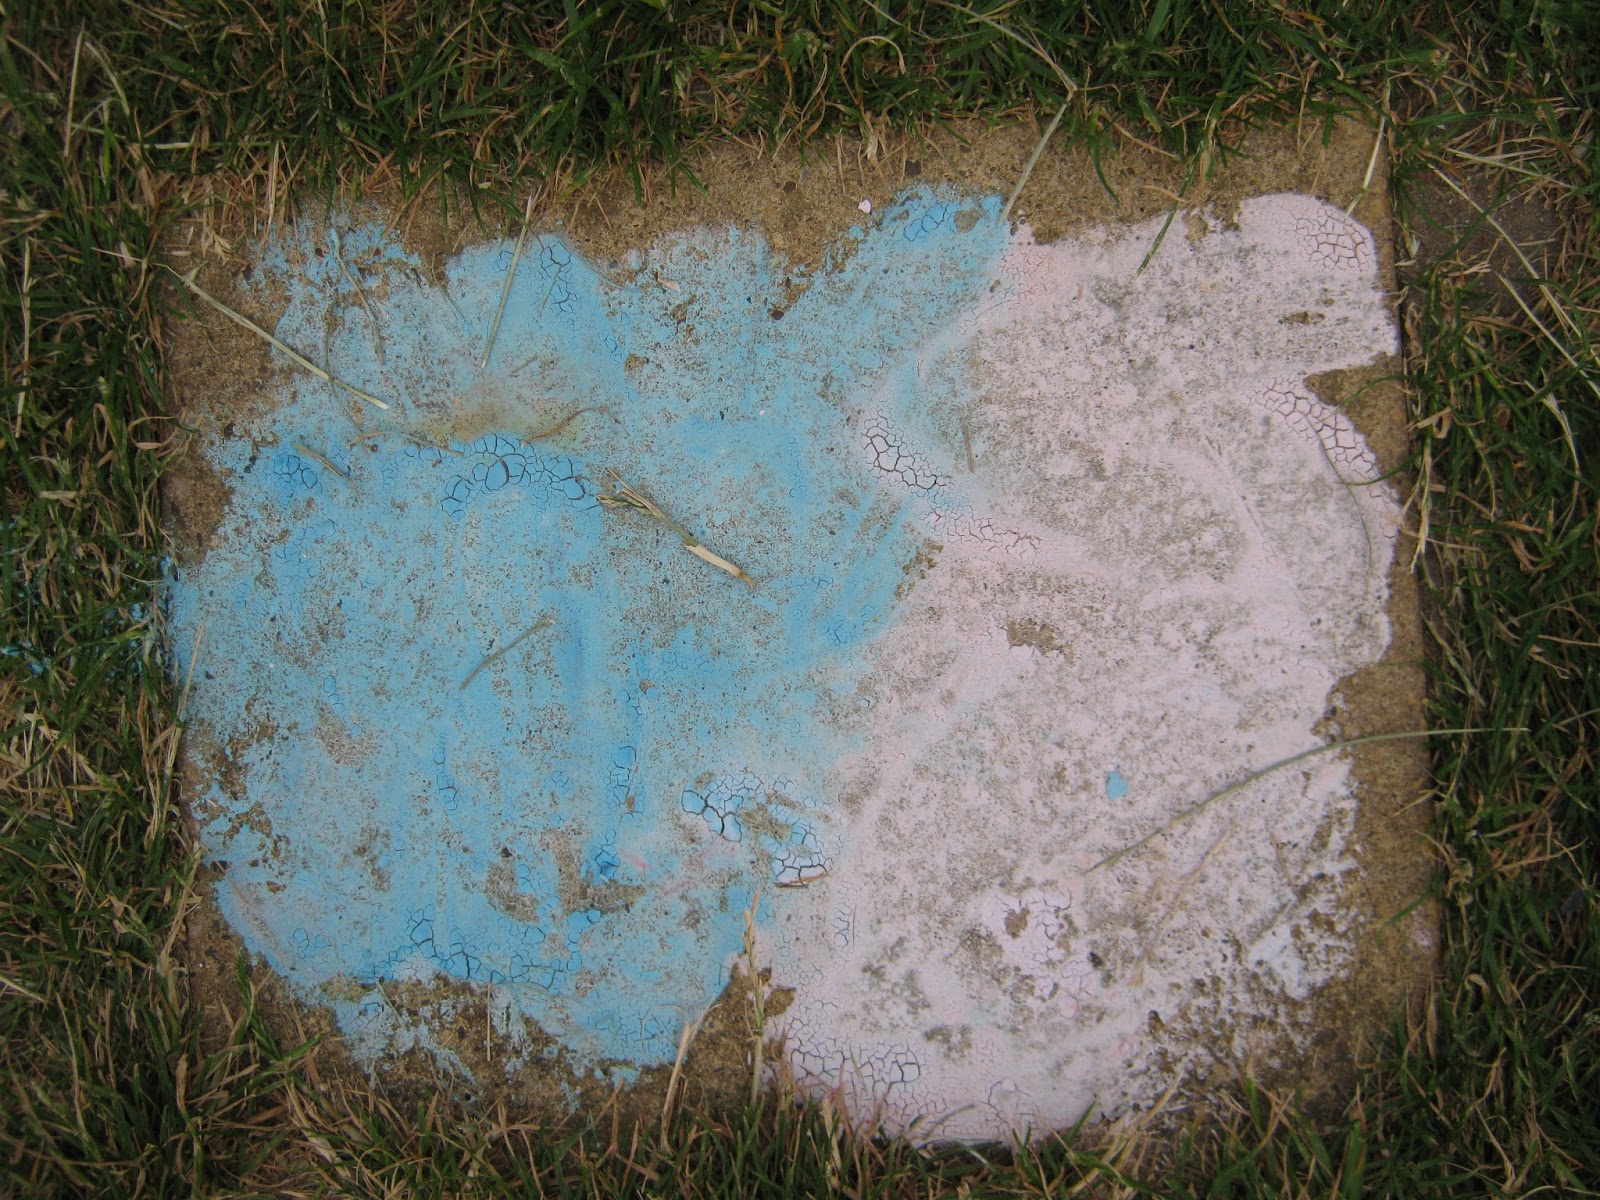
The ice chalks will slowly melt, so some patience is needed to begin with and when they have finished and the water has evaporated you are left with lovely chalk pictures. The children were really interested in the different textures you felt as the ice chalks slowly melted. Another lovely creative, cooling activity for a hot day and all ages enjoyed.

We did discover that to get the best from the chalks, it's best to use them when the patio is hot, as the chalks melt better as you can see from the different pictures.