I put together some I spy bottles for the older children to play with and see what they could find. Basically a plastic bottle, filled with rice but not completely too the top, so the rice will move around and a variety of small objects. I took photo of each object before it went into the bottle and made up some spotters card. So if the children wanted to, they could cover each picture as they found it, so they knew what was left to find.
I'm a Mum of 3, home educator and childminder. This is a place to share my planning, arts, crafts, gardening, cooking and other activities for the preschool years and beyond. As well as my own crafts, gardening and some home education thrown in too
Wednesday, 28 August 2013
Tuesday, 6 August 2013
Meet Kaya and Other activities
This did cause a lot of discussion on what was it? Followed by why did they dry the animal skins etc. So I talked to them about why they would use animal skins etc
These were some of the other books we used.
We made dream catchers and told the story from the Ojibwa tribe about the spider's gift.
They also made bead necklaces from cut up pieces of plastic straw, they sorted them first into colours and then created different patterned necklaces.
As we had talked about tracking and hunting, I used this sheet of tracks from the Nature Detectives website and printed of some pictures of the animals for the children to try and match up
I also made up some number clip cards with Native American symbols on.
and out came the number 8 play dough mat, as spiders have 8 legs.
So as well as joining in most of the activities with the younger children, middle one also wrote a short story about going exploring, sketched flowers in the garden and found out some more information about them from the gardening books. Mapped were some of the different tribes lived and looked at some of the different types of housing etc as well as learning a lot about the Nez Perce tribe from the Kaya books. Studied spiders, how and why they spin webs, the different types of webs they spin etc
There was probably a lot more that we talked about but it would take ages for me to write everything up but this gives some idea how the childminding and home ed can work together well. We do follow a maths and English curriculum that she follows as well as doing all of the above.
Monday, 15 July 2013
10th Birthday
In our house we celebrate going into double figures as an extra special birthday. So my M turned 10, we had a party, it was a big success and remarkably relaxing, mind you she had planned everything before hand and presented me with a to do list for the day, just in case I forgot anything! Luckily our to do lists were the same, so both happily crossed of our to dos together. So our morning past with very organised birthday prep and I don't think we missed anything out.
She had originally said she wanted a craft party but then couldn't decide what crafts, so when I suggested cake decorating she loved this idea. So she and her friends created her birthday cake.
I was very pleased with how the cake turned out.
I baked 10 butterfly shapes, one for each year of her life, actually I made more than 10 as I thought my minded children would love to decorate some on Monday.
I then iced them all with white icing the night before,
Then I collected up a mixture of edible icing pens, tubes of icing gel and a mixture of sprinkles, so on the party day the girls could all decorate a cake each.
Then all 10 butterflies were arranged on a blue board to represent the sky and a candle was put in each cake, everyone loved the result and a very happy birthday girl :-)
We also had a lovely birthday tea and some yummy home made bread and for the puddings we had mixed fruit and I made a couple of homemade fruit jellies, couldn't resist a photo, they were lovely and so easy to make.
So a big thank you to all our friends that made her day so special and to my lovely minded children for making today special as well.
She had originally said she wanted a craft party but then couldn't decide what crafts, so when I suggested cake decorating she loved this idea. So she and her friends created her birthday cake.
I was very pleased with how the cake turned out.
I then iced them all with white icing the night before,
Then all 10 butterflies were arranged on a blue board to represent the sky and a candle was put in each cake, everyone loved the result and a very happy birthday girl :-)
Sunday, 14 July 2013
Ice Chalks
At last we were finally been successful with our ice chalk recipe. It has been a bit of a trial and error, the first lot separated and we were left with a watery layer on top of the cornflour, second lot went lumpy, third lot too thick, so on our fifth lot we got it just right :)
So to make these beautiful chalks, you need to boil some water first (you need hot, not boiling water as you'll get the wrong consistency).
In a jug add 7 heaped tea spoons of cornflour and blend with some cold water to a very thick paste.
Then make up to 200ml with the hot water and stir, you should have a lovely thick white mixture, that doesn't separate or goes like cornflour gloop.
Pour in an ice cube tray and mix in your food colouring.
Place in the freezer, when frozen, pop out of tray and have some fun. Please note for some reason unlike the ice paints and home made finger paints this will stain fingers.
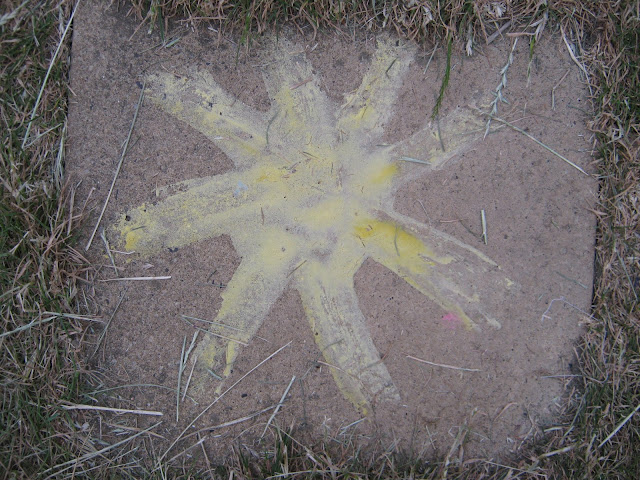
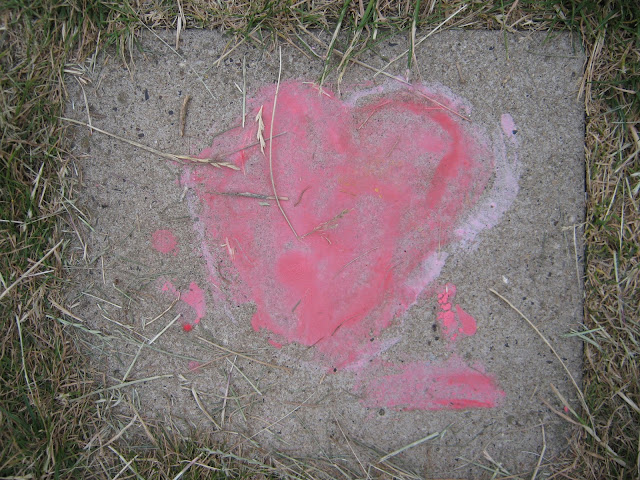
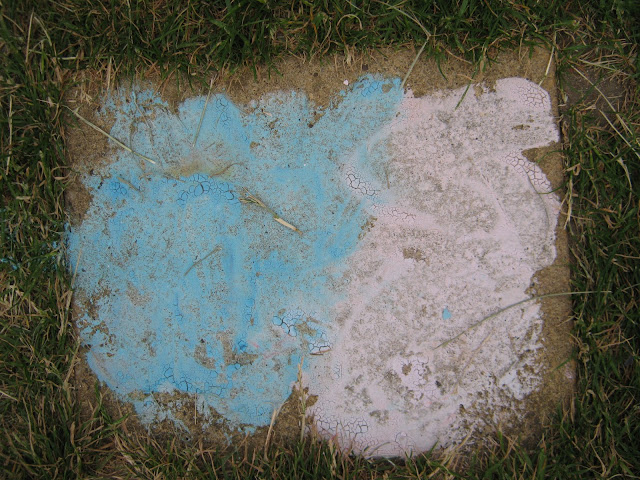
The ice chalks will slowly melt, so some patience is needed to begin with and when they have finished and the water has evaporated you are left with lovely chalk pictures. The children were really interested in the different textures you felt as the ice chalks slowly melted. Another lovely creative, cooling activity for a hot day and all ages enjoyed.
We did discover that to get the best from the chalks, it's best to use them when the patio is hot, as the chalks melt better as you can see from the different pictures.
Friday, 12 July 2013
Bunting
Well M and I have had a lovely couple of days sewing, having sorted out the fabric scraps for the patches on the tent the other day, I decided we could use some of the fabric to make some bunting, something I've wanted to do for a while. So today we did and we are very happy with the results.
My triangles were 20cm wide by 22cm high, that seemed a nice size once you have sewn the seams. We made just over 3 metres of bunting.
We spent a while deciding which fabric and in which order they would use, which took a while as L liked to take pieces of fabric to play with.
We then cut out 2 triangles in each fabric
and sewed them together along the long edges, don't sew across the base as you need to turn them inside out.
We then pressed each triangle and then pinned them to some bias binding,we used some that was 25mm wide and spaced the triangles 3cm apart.
My triangles were 20cm wide by 22cm high, that seemed a nice size once you have sewn the seams. We made just over 3 metres of bunting.
We spent a while deciding which fabric and in which order they would use, which took a while as L liked to take pieces of fabric to play with.
We then cut out 2 triangles in each fabric
and sewed them together along the long edges, don't sew across the base as you need to turn them inside out.
M busy sewing, she really has got the hang of sewing nice straight lines.
Monday, 8 July 2013
Edible Finger Paint
Edible Finger Paint
1/4 cup or 40g cornflour
1 cup of water or 280ml
food colouring
Place cornflour and water in a pan and heat, it will start to thicken, go slightly translucent and come away from the side of the pan, as soon as the translucent streaks appear, turn of the heat, just remember to keep on stirring and it will thicken.
Then pour into your paint container and add food colouring
Subscribe to:
Posts (Atom)


